Zebra Datawedge Android Configuration
Overview
You want to configure your Zebra scanning device, this article will show you the different ways you can modify the settings of you Zebra scanner to work with BMS.

This documentation will only work with zebra scanning devices that use datawedge
To do so, you need to check the settings of datawedge, you can chose to import a profile we already created that will work with Boostmyshop or you can modify your existing profile manually.
Importing Boostmyshop profile
This is the easiest and fastest way to modify all your settings at once. Importing a Profile simply adds the imported Profile to the list of available Profiles on the device. If a Profile exists on the device with the same name as the one being imported, the existing Profile will be modified by the imported one.
You can download the profile file from the attachment of this article
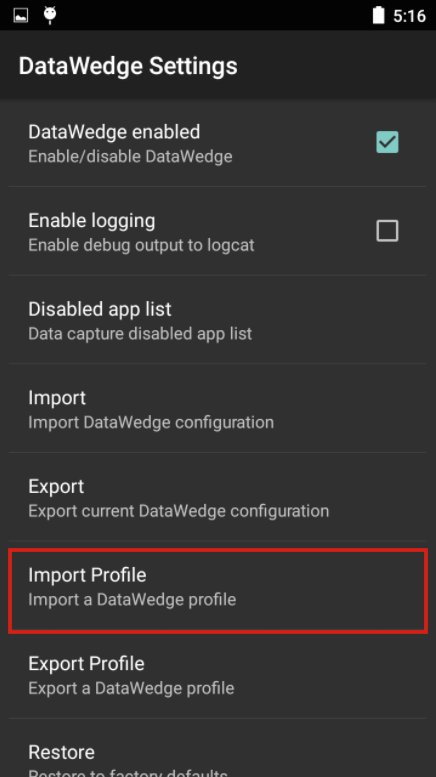
1. From the DataWedge profil page, use Settings panel, tap Import Profile as highlighted below. A screen appears similar to the one in Step 2.
2. Navigate to the file you want to import and select it:

If you click on the single dot it will put you at the base of the device's storage but if you use the double dot it will put you on the previous folder
By default the file name is "dwprofile_Profile0(default).db"
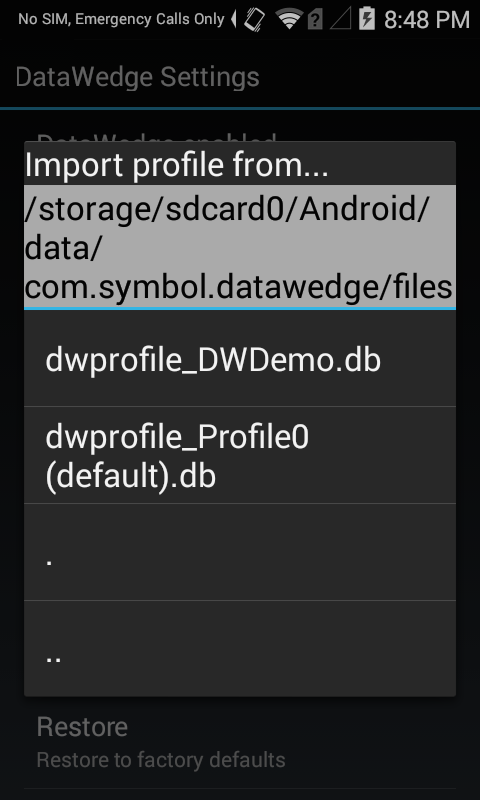

Don't change the name of our profile because its made to replace your default "profile0", unless you know what you are doing and want to use multiple profiles on the same device
Once you selected the profile it will automatically update all you settings and you can test it right away.
Modifying settings manually
You can always also modify each settings manually or just change the one that are different from your default configuration if you dont want to import a profile that will overwrite everything.
- Make sure datawedge is activated and that BMS mobile isn't on the list of "deactivated apps"
2. Go back to your profile and check that its activated
3. Go to keyboard event option and activate those 2 options :
4. Go to advanced data formating and verify its activated
5. Last menu to check is "basic data formating" and those options need to be checked :
- Activated
- Send data
- Send Enter key

You can test your configuration to see if it works on this url : https://extensions.boostmyshop.fr/ressources/barcode_tester.php
Unlock your online store's potential
Whatever your e-commerce business, discover how to streamline your operations and boost your business growth with Boostmyshop.